Lots of very cool projects require you to work in the round.
This means that you are creating a circle versus creating a chain and going back and forth and back and forth again.


...a couple examples....
These are smaller projects that have one starting point.
You get the idea.
Honestly, I prefer to work this way. It's generally a little more interesting project. (Isn't the ducky cute!) You can't make a heart or a cute ducky without knowing how to start the round.
Lesson One:
How to start. Seems a logical place to begin.
Your pattern will tell you if you need to chain or magic circle but let me know you the differences.
There are three ways to start a "round" project.
1. Foundation Chain.
This is the one most traditionally used.
Pros: It's very commonly used, it is necessary when you are making something that has a large center like a bracelet or a coffee cozy.
Cons: Its hard to see the middle.
First let's chain 4.

Then join the chain. You will normally join at the first st. The pattern will always tell you this. However, I've never seen it any other way.
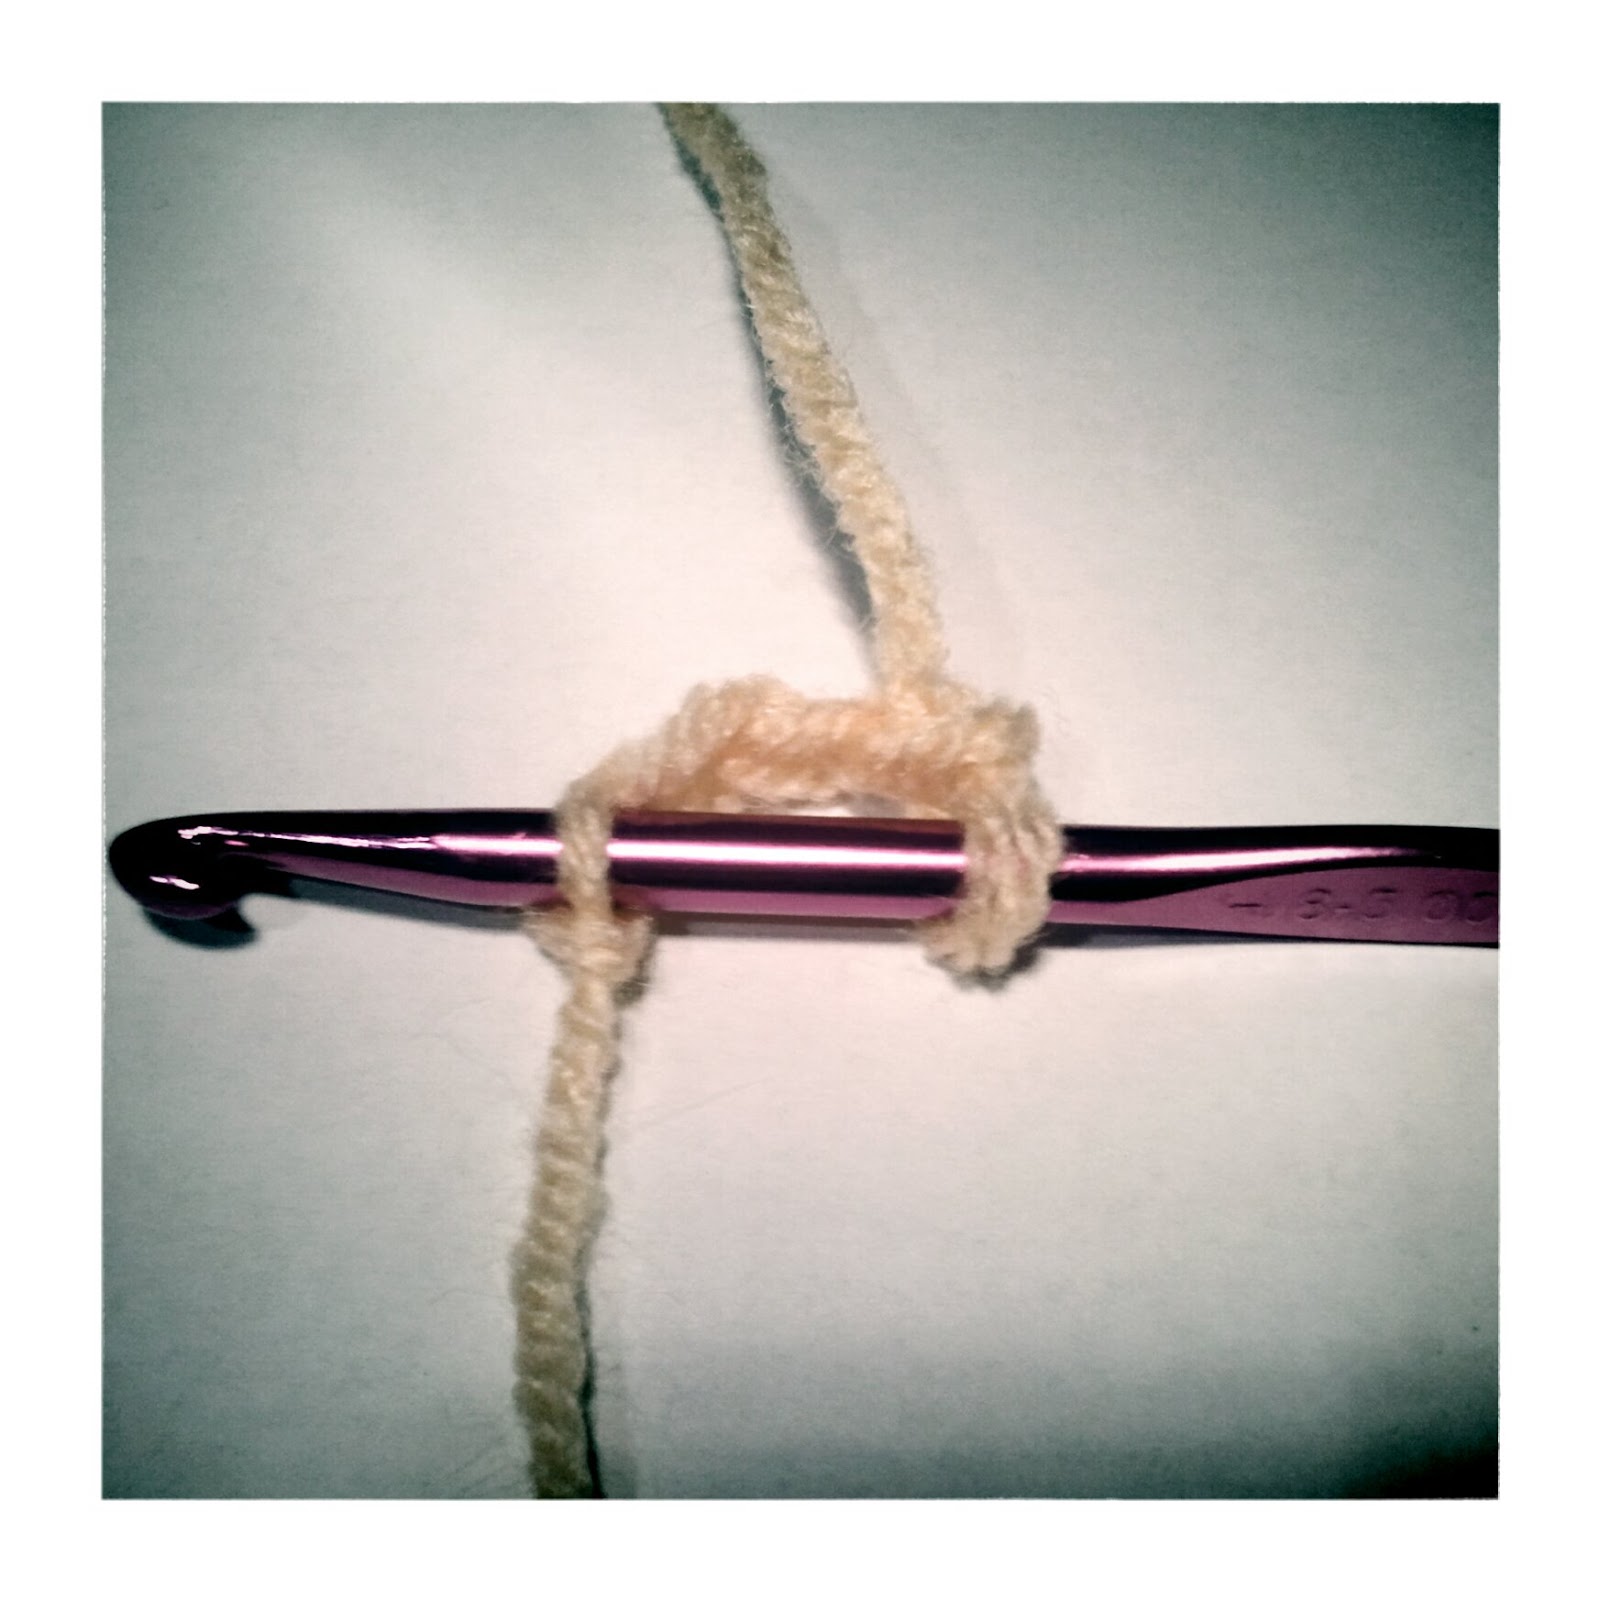
When you hear "join" that means to slip stitch. So go through the first chain you made, grab the yarn, pull through chain AND stitch on hook.

Now the tricky part. Put the hook through the center ( the middle of all the chains) and grab the yarn and do your stitch.

Let's do an sc.

Repeat this step. Here is three sc.

The pattern will tell you how many to make. I've completed the first row with 10 sc. While stitching, hold the tail against your work so it crochets into the piece. This is what keeps it from unraveling.
To finish; slip stitch into the first sc.

Ta-da!

No comments:
Post a Comment